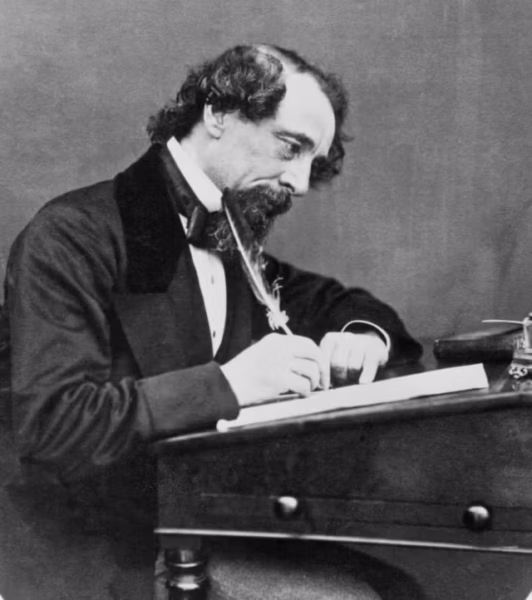
As Christmas approaches, Malton Museum volunteer Eleanor Whaley shares the local inspiration for one of Charles Dickens’ most festive and famous novels, A Christmas Carol.
A Christmas Carol is a timeless didactic novella that explores societal injustices of the nineteenth century, while embracing the spirit of Christmas. Although many are familiar with the classic, whether through the book itself or the numerous adaptations, its inspirations are less well-known.
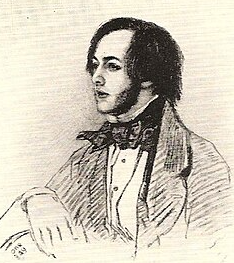
Charles Dickens’ long association with Malton began when he befriended Charles Smithson, the youngest son of Richard Smithson, the proprietor of a Malton legal firm practising in Chancery Lane.
Smithson was baptised at St. Michael’s Church in the Market Place on Christmas Eve in 1804 and grew up to be a key figure in the family business. When his eldest brother, John, died, Charles relocated to London to work under their London firm with his other elder brother, Henry; it was during this time that Smithson met Dickens through Thomas Mitton, devloping a lifelong friendship. By 1840, Smithson’s brother Henry had also died, forcing Charles to return to Malton and take over the firm in Chancery Lane. Dickens and Smithson remained in contact, with the former visiting Malton in 1843.
Dickens’ 1843 visit and fond memories of Malton
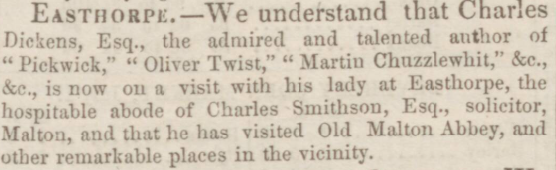
Before moving to Abbey House behind St. Mary’s Priory in Old Malton, Smithson lived at Easthorpe Hall near Malton, and it was here that Dickens stayed for several weeks in July 1843. The Yorkshire Gazette reported that Dickens was ‘on a visit with his lady at Easthorpe, the hospitable abode of Charles Smithson… and that he has visited Old Malton Abbey, and other remarkable places in the vicinity.’
It is clear that Yorkshire had a lasting impression on Dickens, as he recounted in letters that his ‘friends in that part of the country (close to Castle Howard)’ were the ‘jolliest of the jolly’ and exuberantly exclaimed in a letter to his close friend in America, Cornelius Felton, that ‘we performed some madnesses there in the way of forfeits, picnics, rustic games, and inspections of ancient monasteries at midnight.’
Although he did not write A Christmas Carol in the area, it is believed he wrote part of Martin Chuzzlewit here, with the character of Sairey Gamp modelled on the housekeeper employed by Smithson.
Dickens’ family connections to Malton
Dickens’ younger brother Alfred was a civil engineer in Malton, working on the construction of the York – Scarborough Railway Line in 1843. He had an office in the Market Place, living on Greengate and later Derwent Cottage on Scarborough Road, close to where the Malton-Driffield line was being constructed.
It was here he lived with his wife, Helen Dobson, the daughter of a stationmaster at Strensall, and where several of their children were born.
Tragedy hits the Smithson family
The dire realities of the Victorian era, which Dickens conveyed heavily in his work, were ubiquitous, with the Smithson family falling victim to the high mortality rates — Charles died in 1844 at the age of 39. Dickens attended the funeral at St. Mary’s Church in Old Malton.

The Hull Advertiser recounted that ‘Dickens came down especially to attend the funeral of Mr Smithson, and as he stood by the graveside of the lamented gentleman, seemed much affected at the sudden and unexpected loss of one with whom he had been on terms of the most friendly intercourse.’
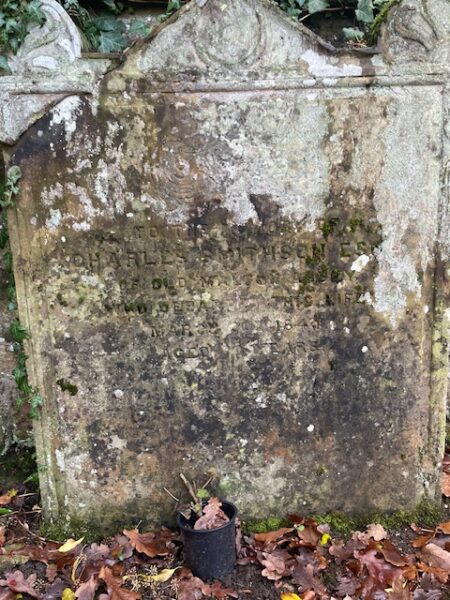
It is clear that Dickens thought a lot of his friend, and the friendship regarded fondly among locals, as it was re-emphasised in an 1894 piece in the Yorkshire Gazette titled ‘Dickens in the Vale of Derwent’ that he ‘stood in Old Malton Churchyard and read the tombstone…and the thought that Dickens has stood beside this grave as a troubled mourner made that quiet corner a very sacred one.’
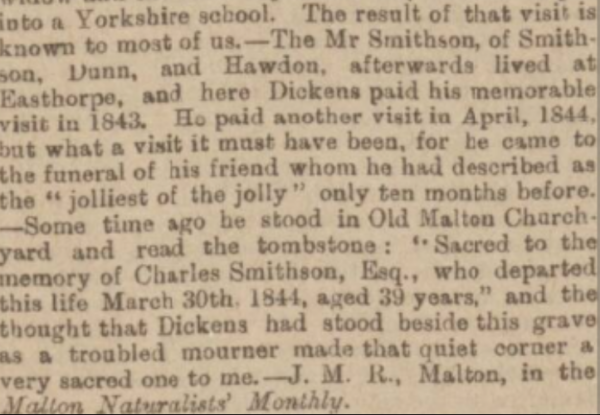
Charles Smithson’s grave remains in the far corner of the graveyard, which was newly consecrated ground and hitherto part of Smithson’s own garden – he was the first to be buried there.
Although some confuse the inspirations for A Christmas Carol, with some believing Scrooge was a depiction of Smithson, Charles Smithson was immortalised through Mr Spenlow in David Copperfield, as, like Spenlow, Smithson failed to leave a will.
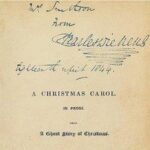
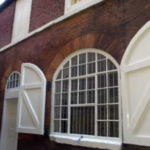
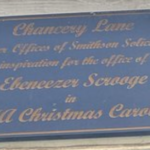
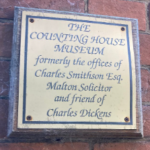
Dickens informed the Smithson family that the office in Chancery Lane was the model for Scrooge’s Counting House, including the notorious door knocker, and the infamous, eerie ‘Bells’ that discernibly feature in the novella were those of St. Leonard’s Church. Dickens sent a copy of A Christmas Carol to Smithson’s widow, signed “Mrs Smithson, from Charles Dickens, 18th April 1844.”
Though the museum on Chancery Lane is now closed, a plaque commemorating Charles Smithson and another highlighting the inspiration for the literary classic are still displayed.
Malton and the surrounding area’s literary connection is a significant aspect of local history and should be celebrated, especially at Christmas time!
Want to know more about Charles Dickens? Keep an eye on our tours programme – we’ll be launching a new guided walk in 2026 sharing Dickens’ Malton.
We hope you’ve enjoyed this post. If you’d like to support Malton Museum’s work, please consider becoming a regular donor.


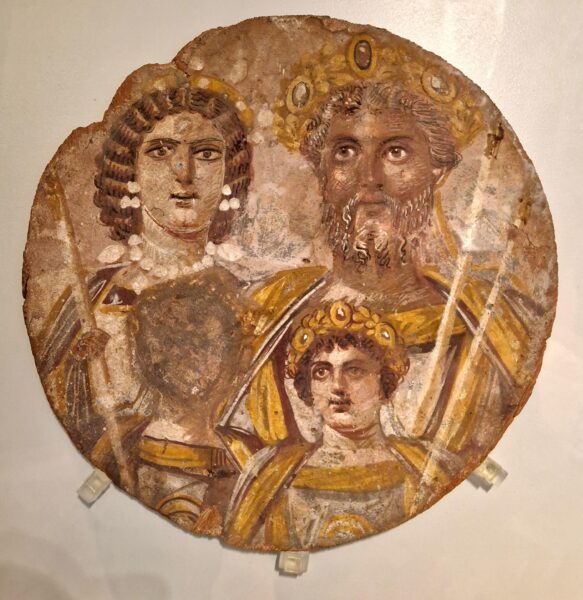
 She was a leading figure across the Roman world in her own right, and together they were the power couple of their age. Finally, their two sons, the psychotic Caracalla and unfortunate Geta, destined to live a spiral of bitter rivalry ending in the most sanguineous way within a year of Severus’ death. Here, the former had the latter murdered, he bleeding to death in Julia Domna’s arms.